If you have taken our Sewing Machine Basics class, chances are, you’ve created a travel-sized pillowcase. With french seams and an accent band, it looks professional and difficult, but a beginner can easily make it! Our students often want the instructions so they can make extras for themselves or as gifts, but until now they’ve been done from memory. The long-awaited tutorial has arrived! We use the popular “hot dog” method of construction, and reduced dimensions to create a handy travel size. So here goes!
Materials:
3 fabrics: 1 for the main body, 1 for the accent strip, and 1 for the band.
Cut your fabric to the following dimensions for a travel size pillow case:
Body: 15”x30”
Accent: 2”x30”
Band: 9”x30”(MEASUREMENTS FOR A FULL SIZE PILLOW CASE ARE body 24" x width, band 2" x width, cuff 12"x width)
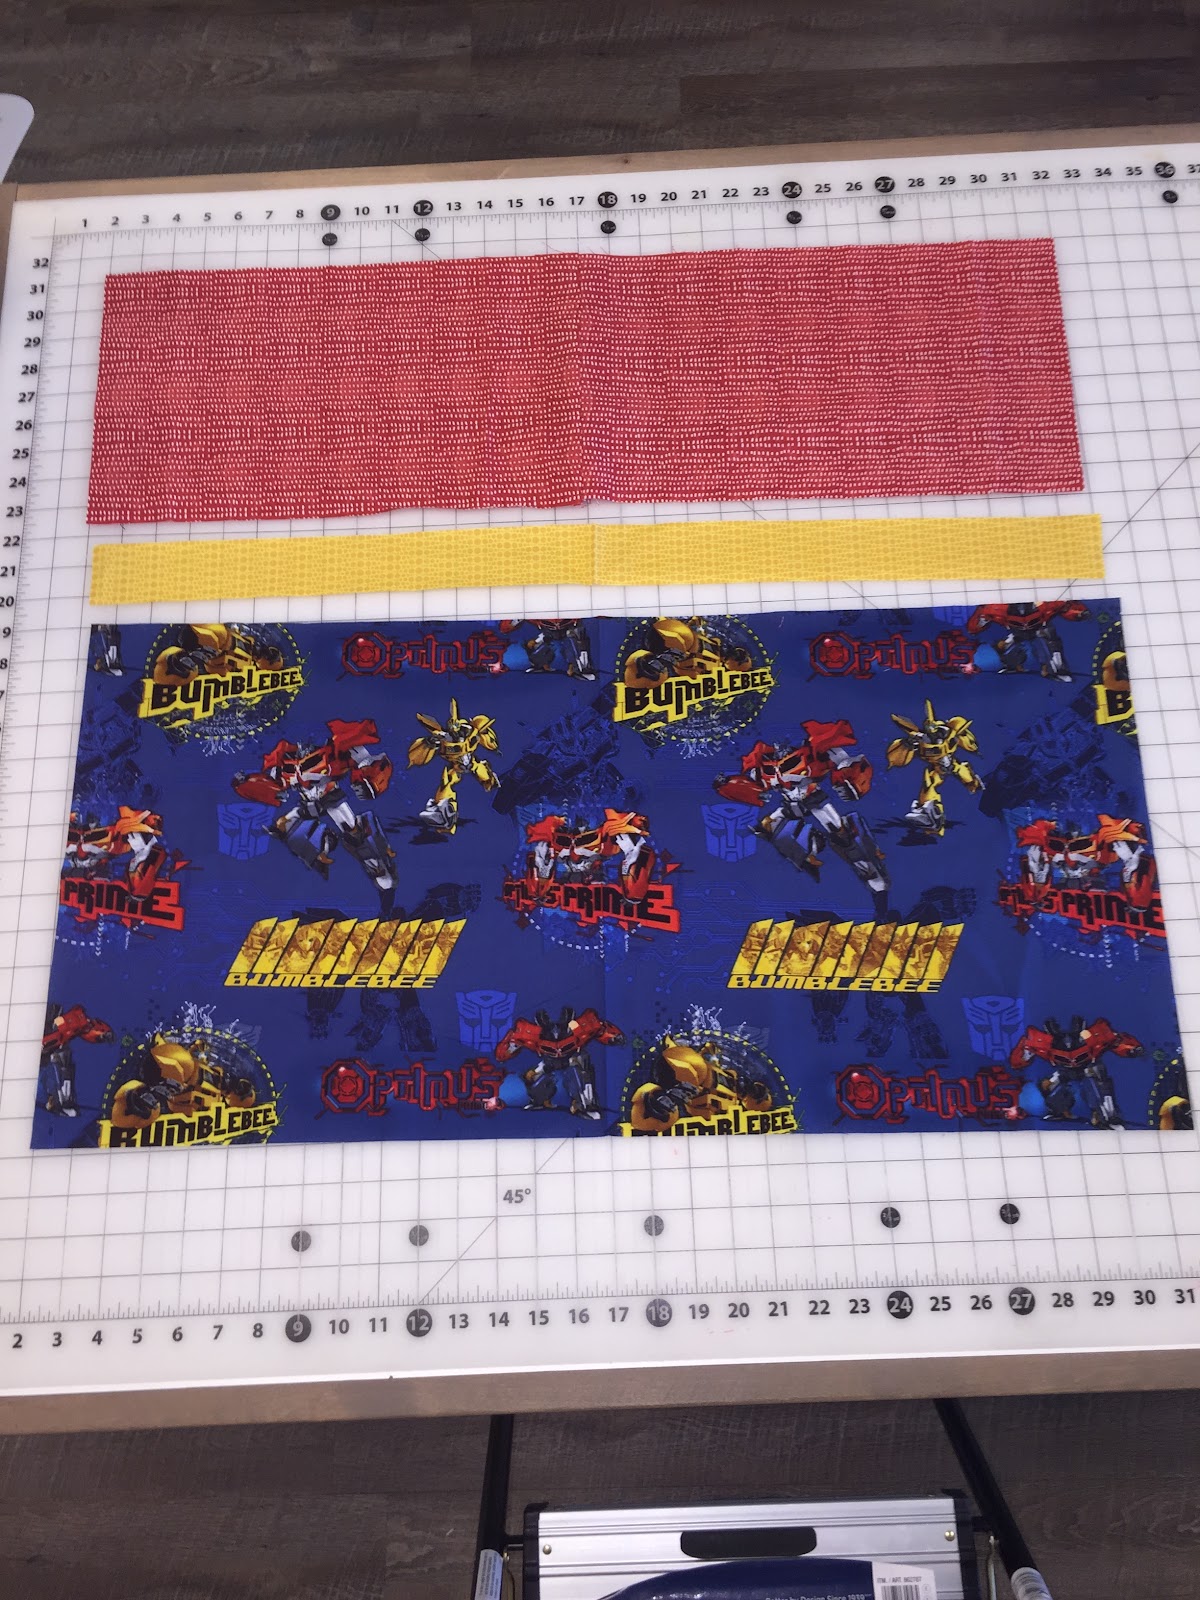
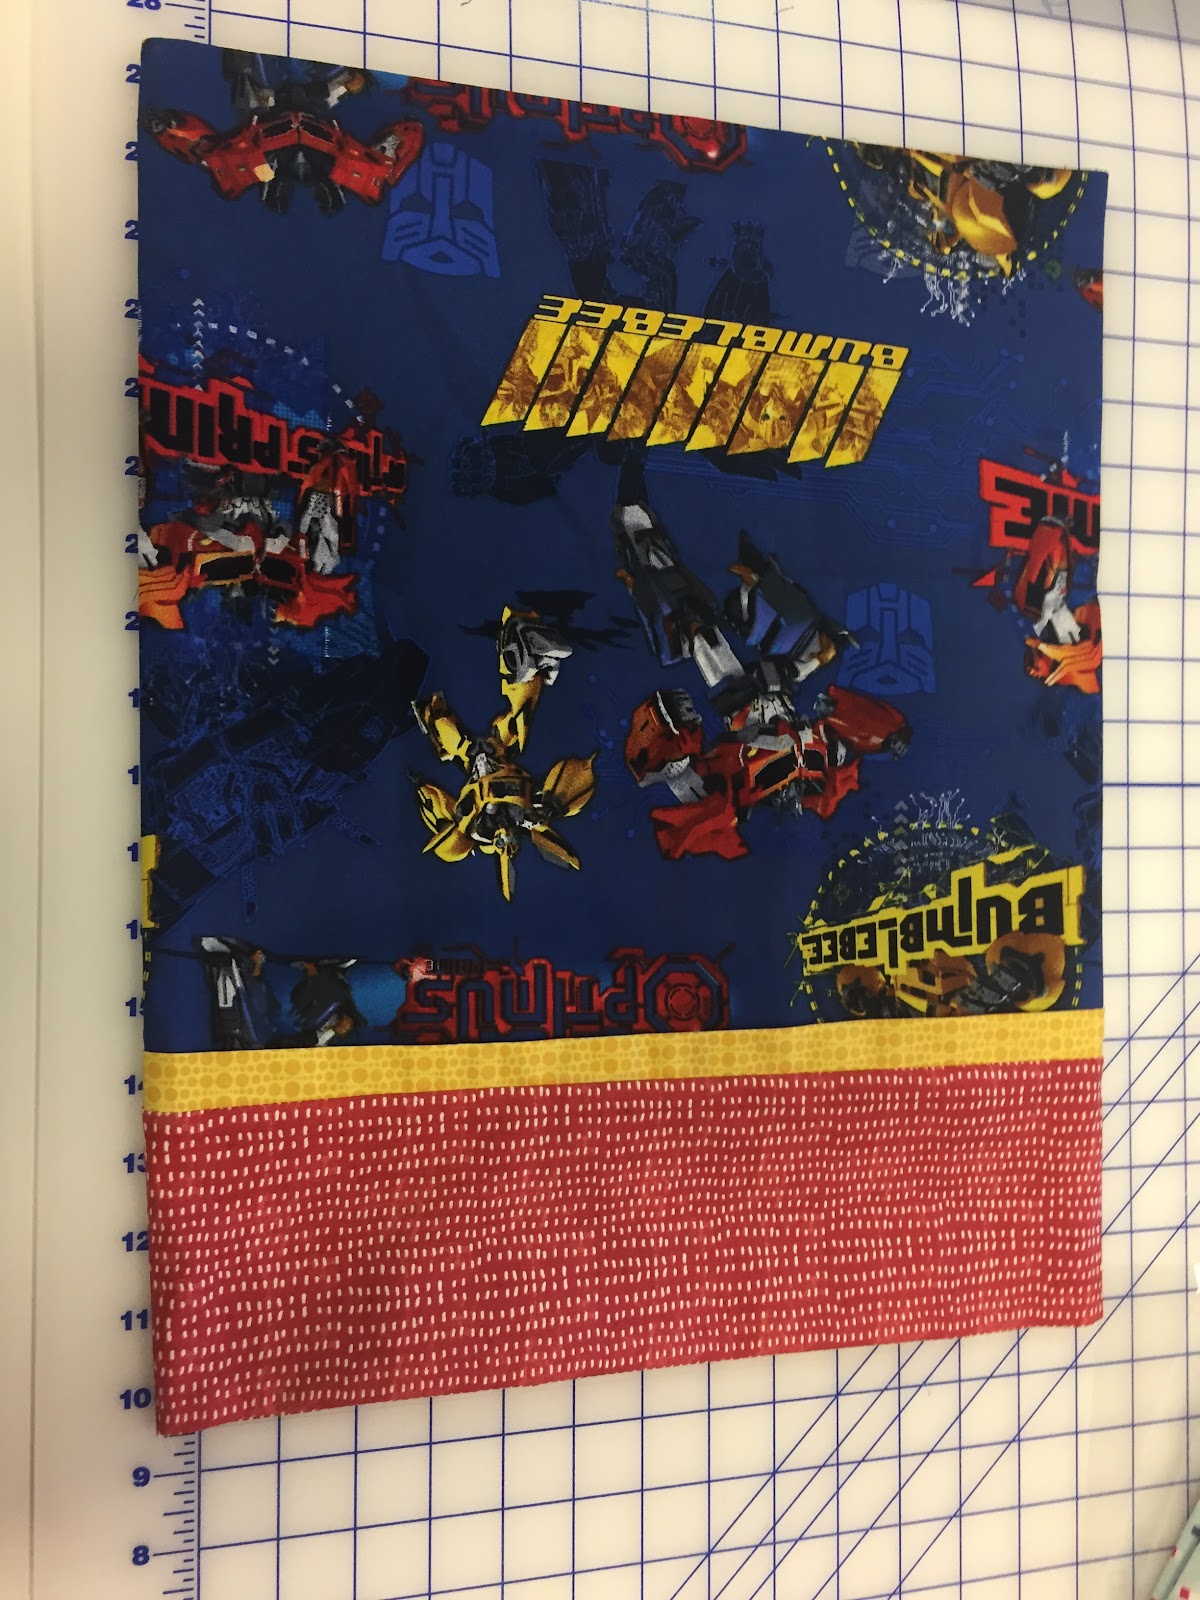
I was making a pillowcase as a gift for a 4 year-old boy, so don’t mind the Transformers fabric! My fabric is directional, but I think on the pillowcase it’s okay to have the print running “sideways” relative to the band. If you prefer to be looking at a directional print right side up as the pillow would lay on a bed (with the band to one side), then you’ll want it running with the top as the 15” side.
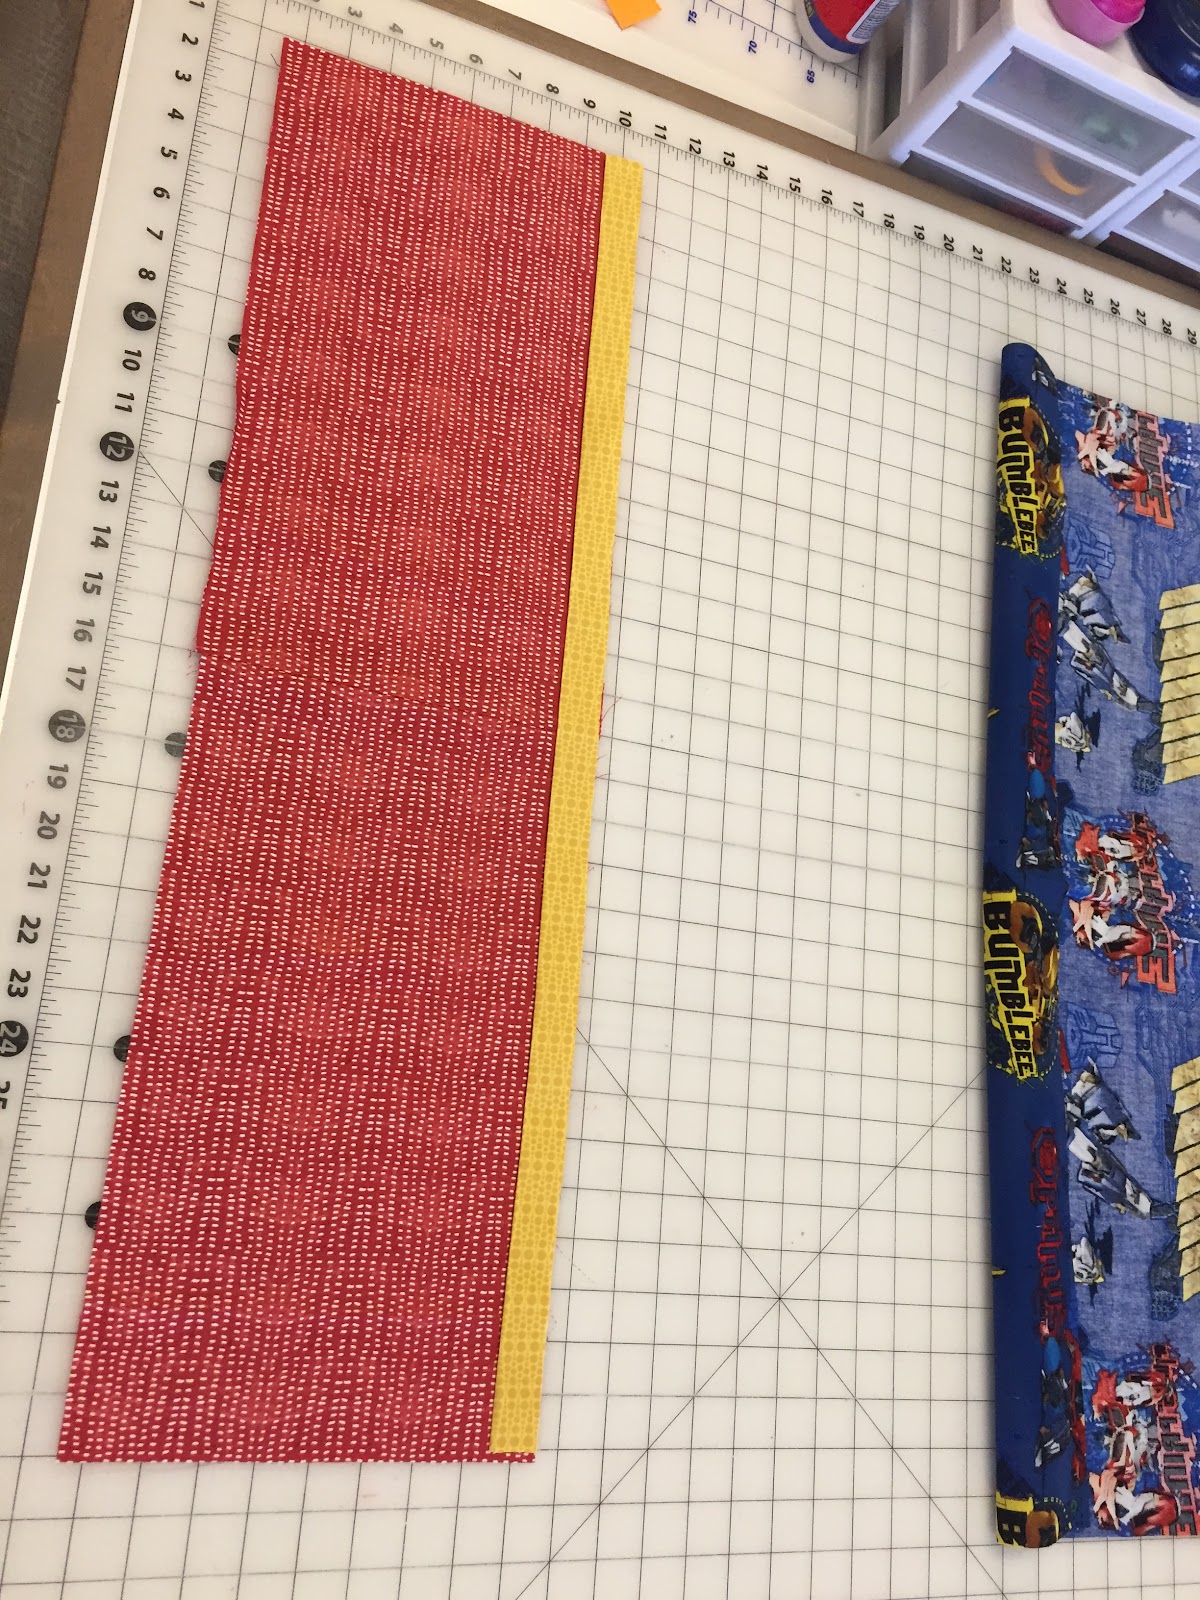
We first press the accent strip in half, wrong sides together, with the long sides lined up.

We first press the accent strip in half, wrong sides together, with the long sides lined up.
Now you’re ready to start pinning! We like to pin in three steps to keep everything lined up, but with some practice you can pin the fabrics together all at once.
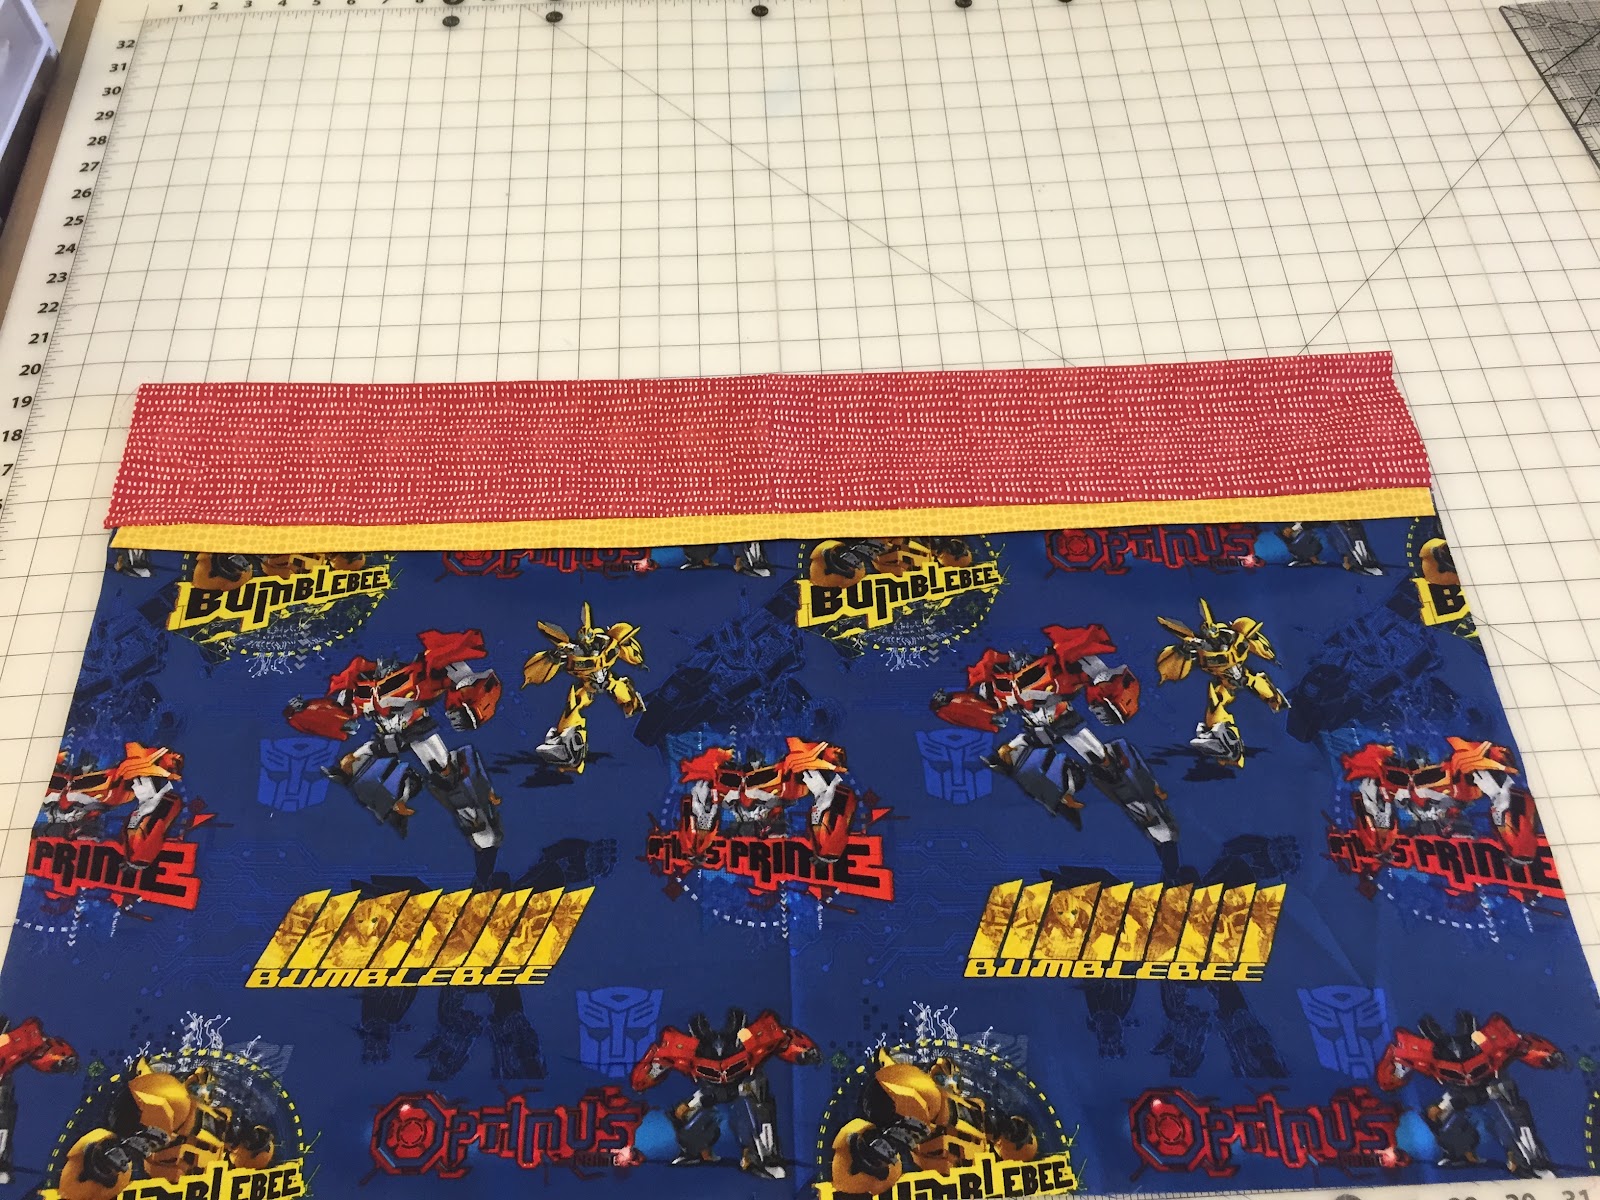
Begin by laying the accent strip at the top edge of the band fabric, right sides together, with the raw edges aligned. Pin across the raw edge every 5-6”.

Next, lay the body fabric right side down on the band/accent piece. Notice that I have the print direction upright.
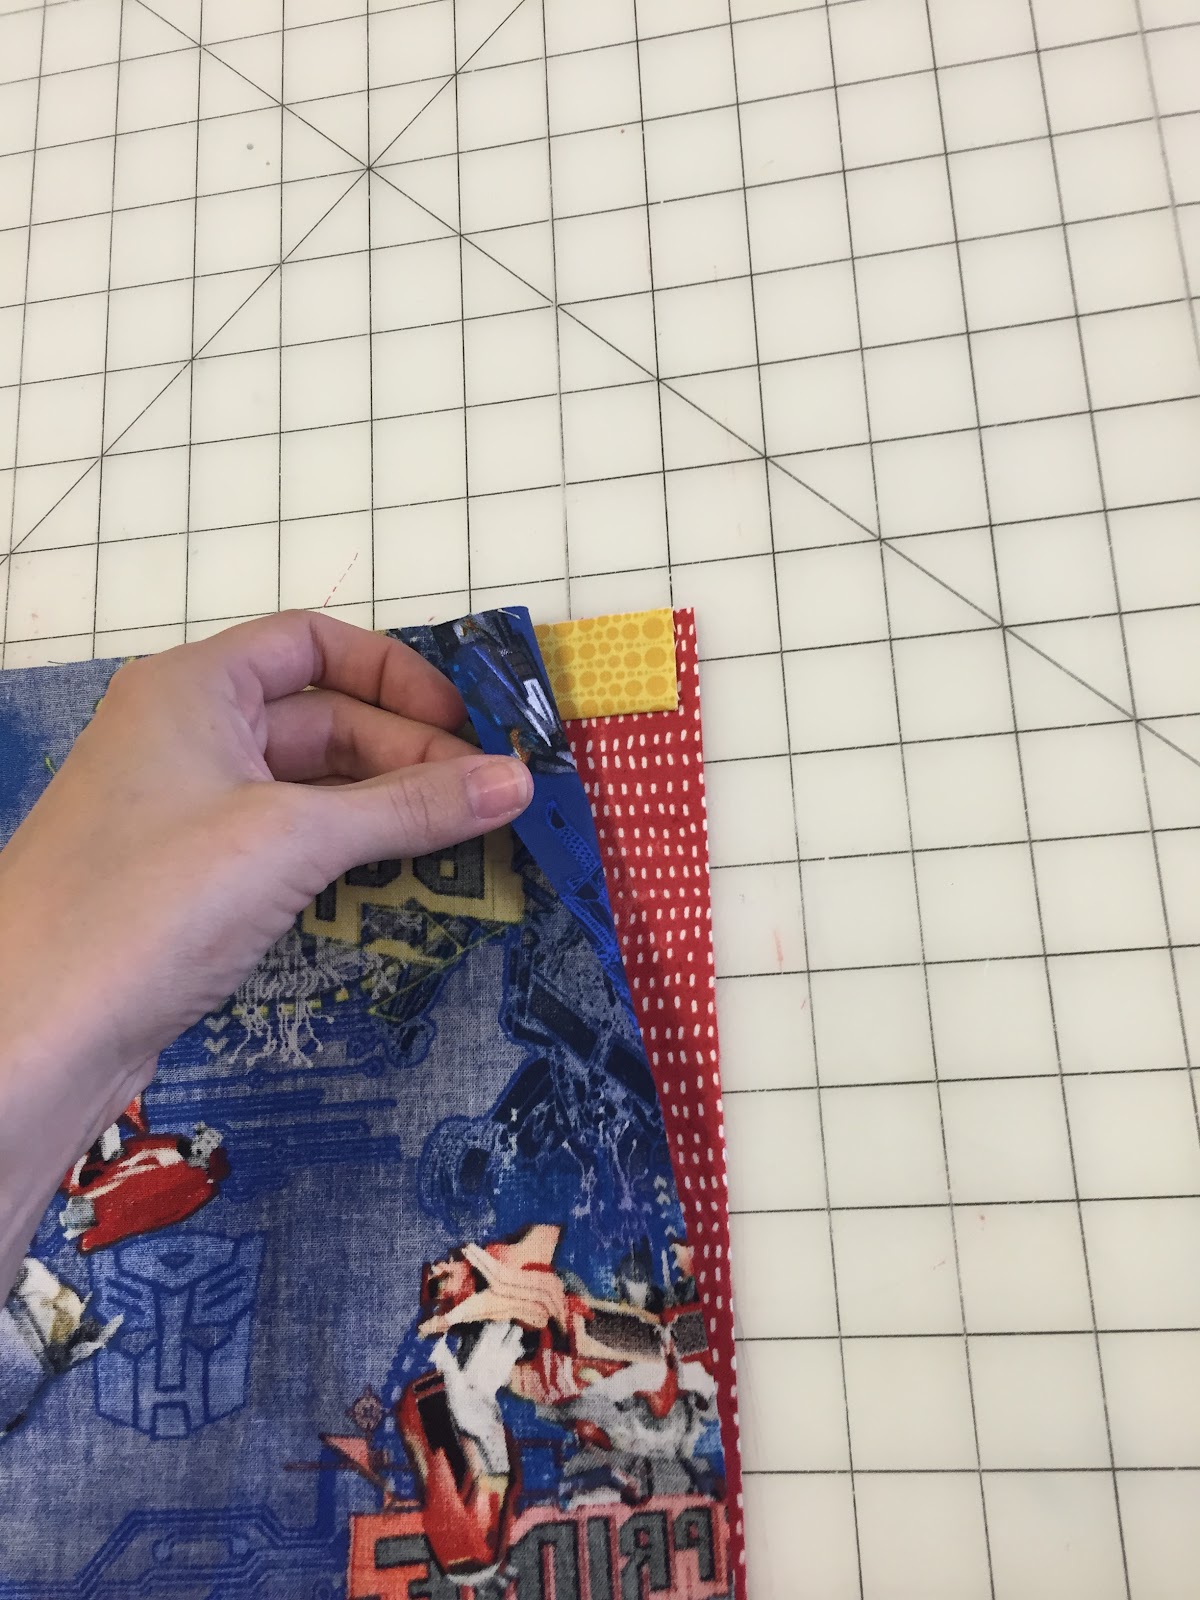
Moving from one end of the fabric to the other, remove each pin and replace it, pinning through all three fabrics.

Beginning at the bottom edge of the main body fabric, roll the fabric up toward the pinned edge.
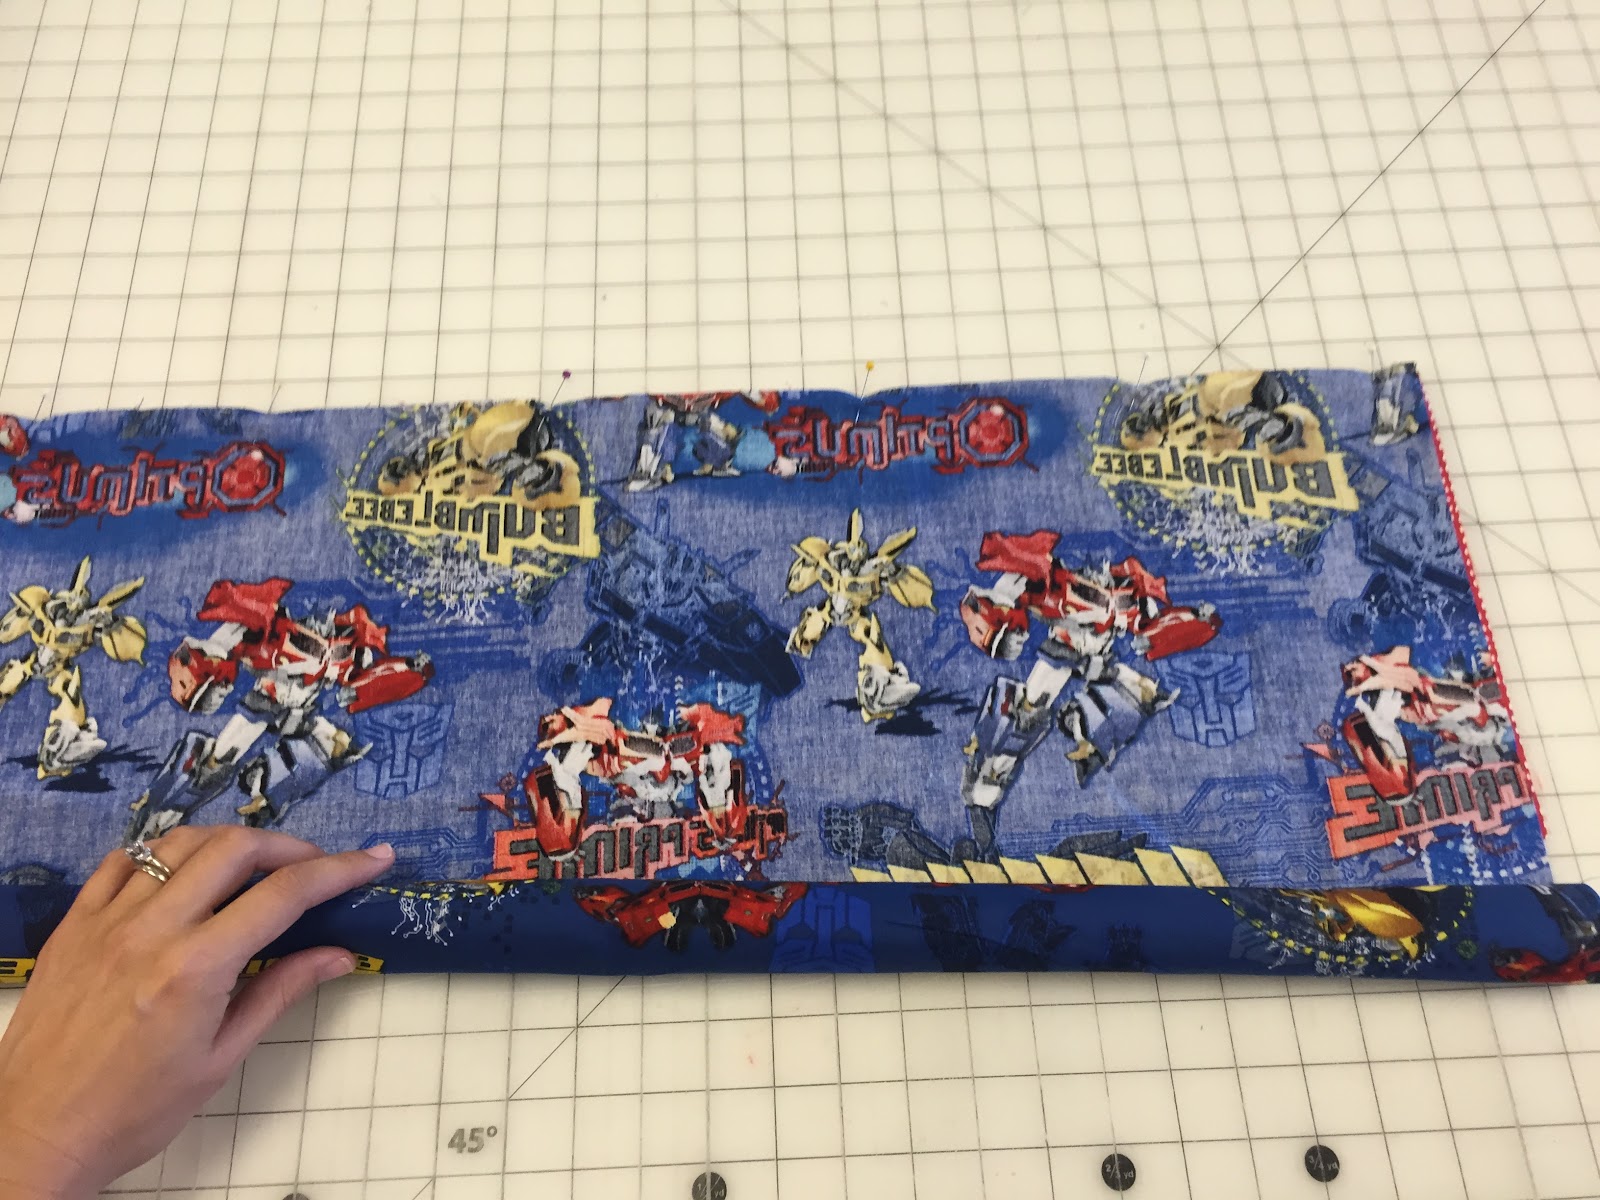
Stop with the roll about half-way up the band fabric.
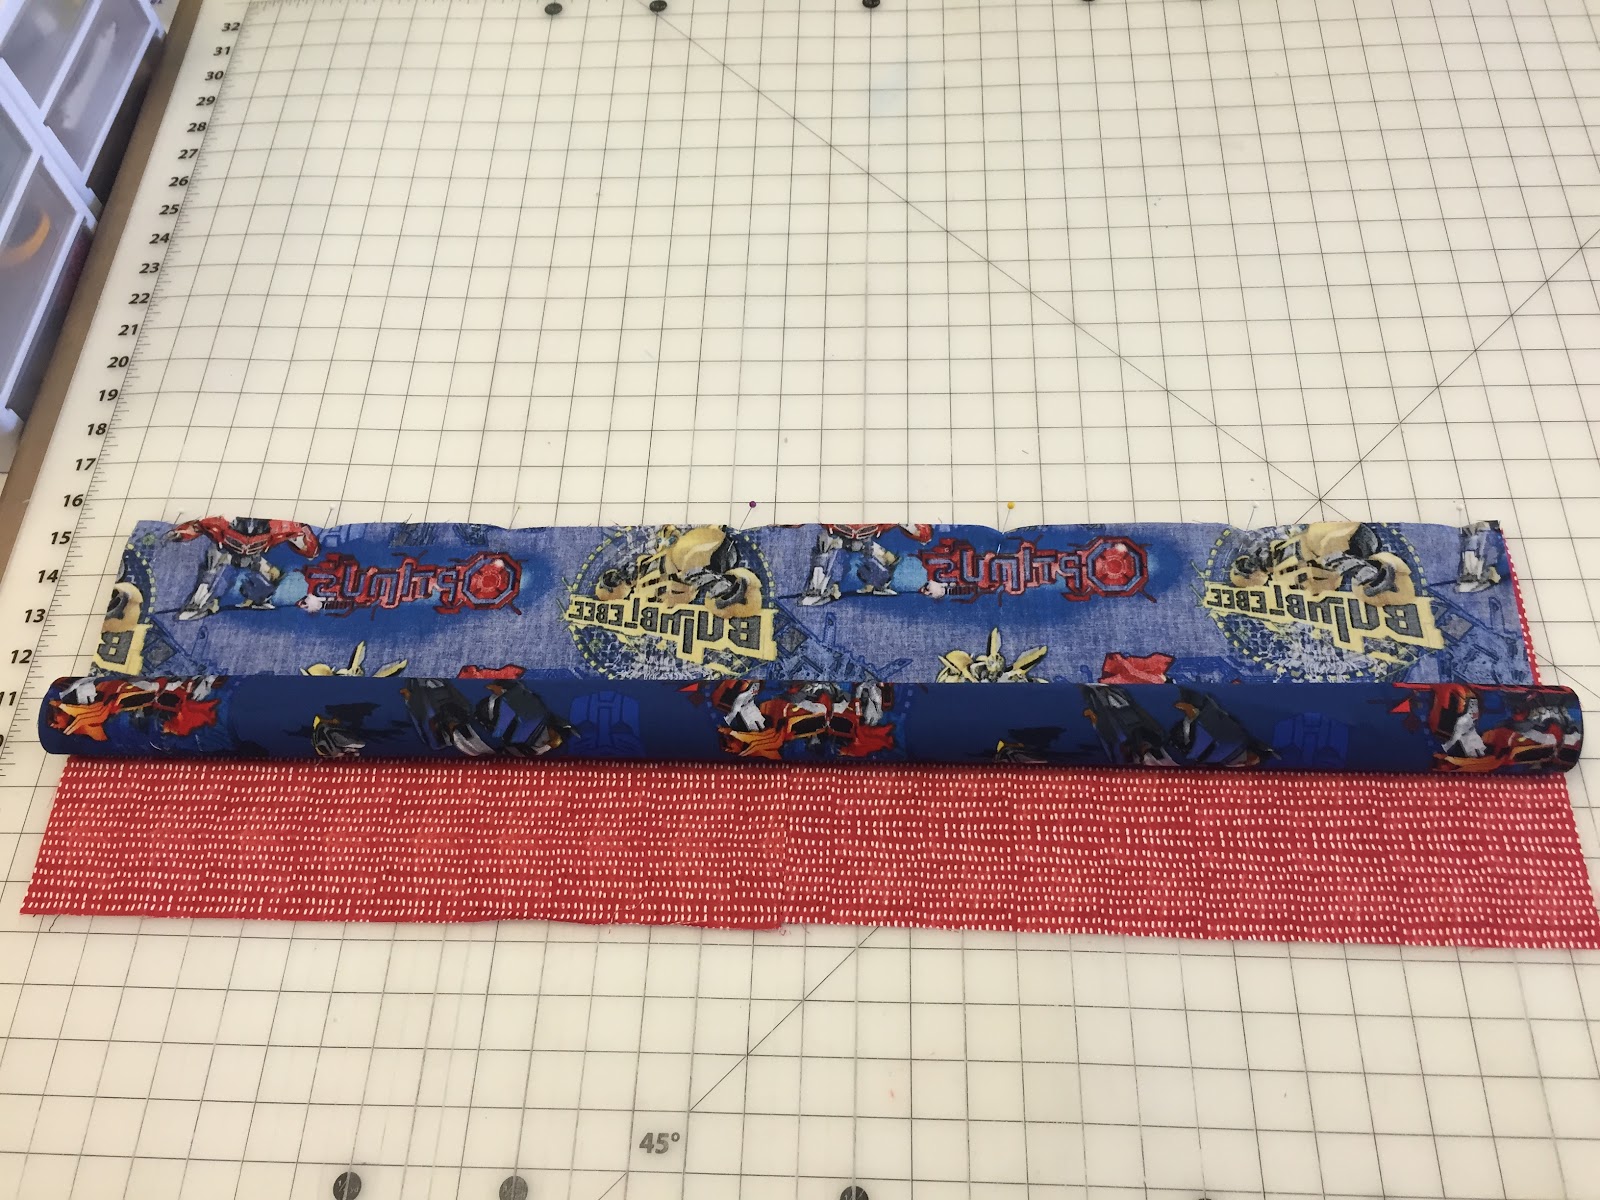
I pieced my red band fabric from scraps to save materials, so you can ignore the seam down the middle you see here.
Take the bottom edge of the band fabric and fold it up and over the rolled fabric to meet the pinned edges.
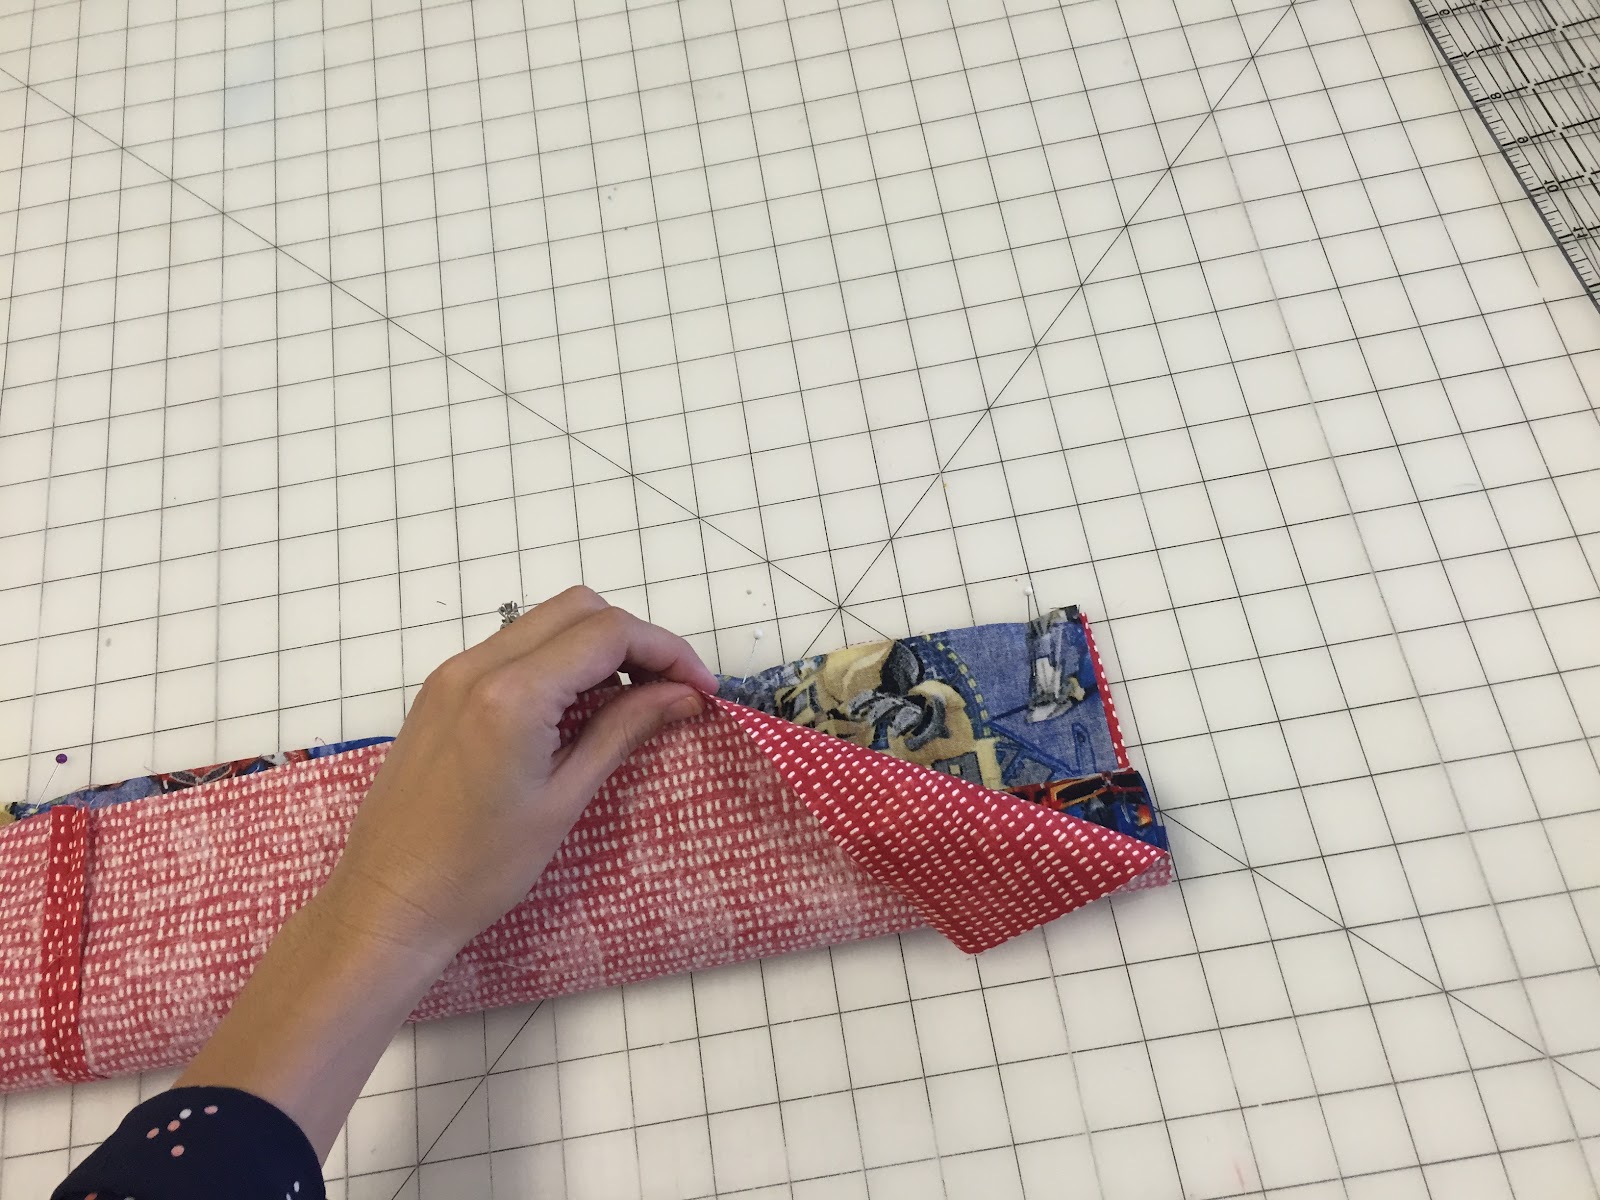
Again working from one end to the other, remove each pin and repin through all of the layers of fabric. You’ll now be pinning through the band fabric, body, two layers of accent strip, and the other side of the band. Try to keep them as well lined up as possible, and be sure you don’t catch the rolled portion with the pins.

Now you’re ready for the first sewing step. Sew along just the pinned edge using a ⅜” seam allowance. Time to turn!
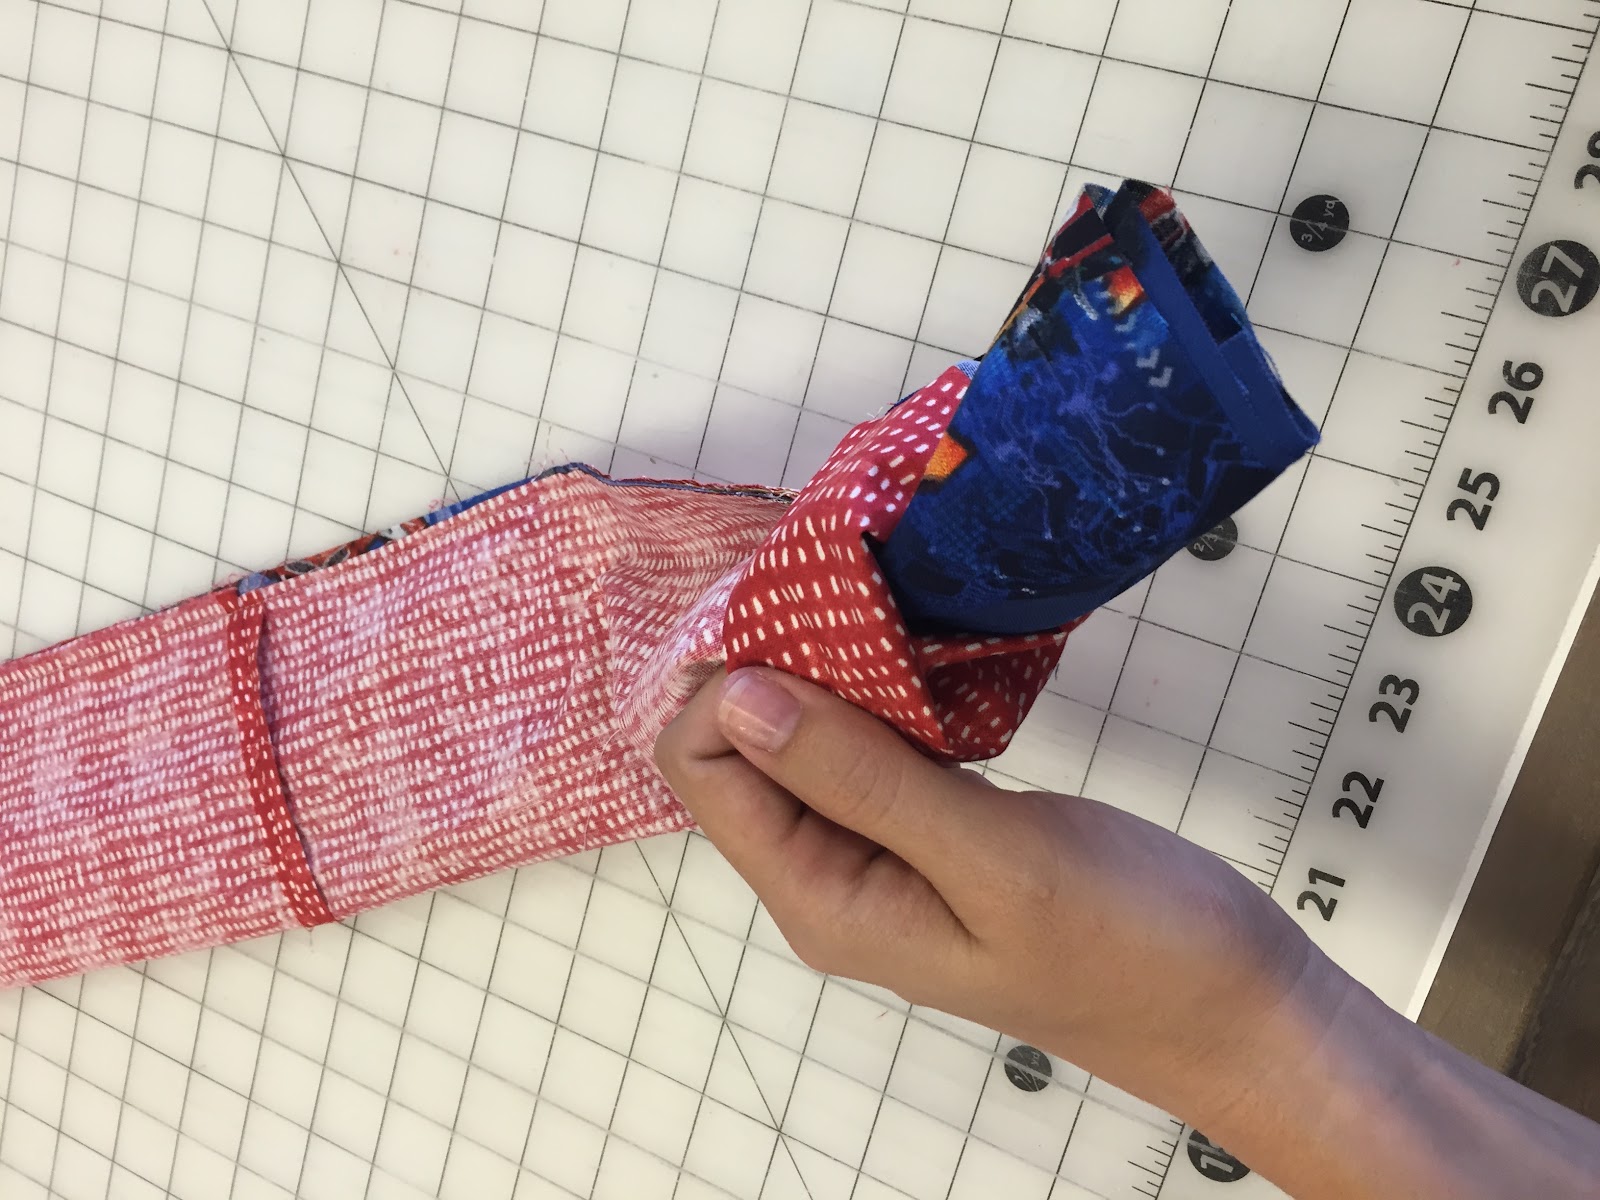
The pillowcase is in the form of a tube right now - begin by rolling the edges at one short end back on themselves. Slowly pull the body fabric roll out of the middle, while continuing to roll the band fabric tube back on itself.
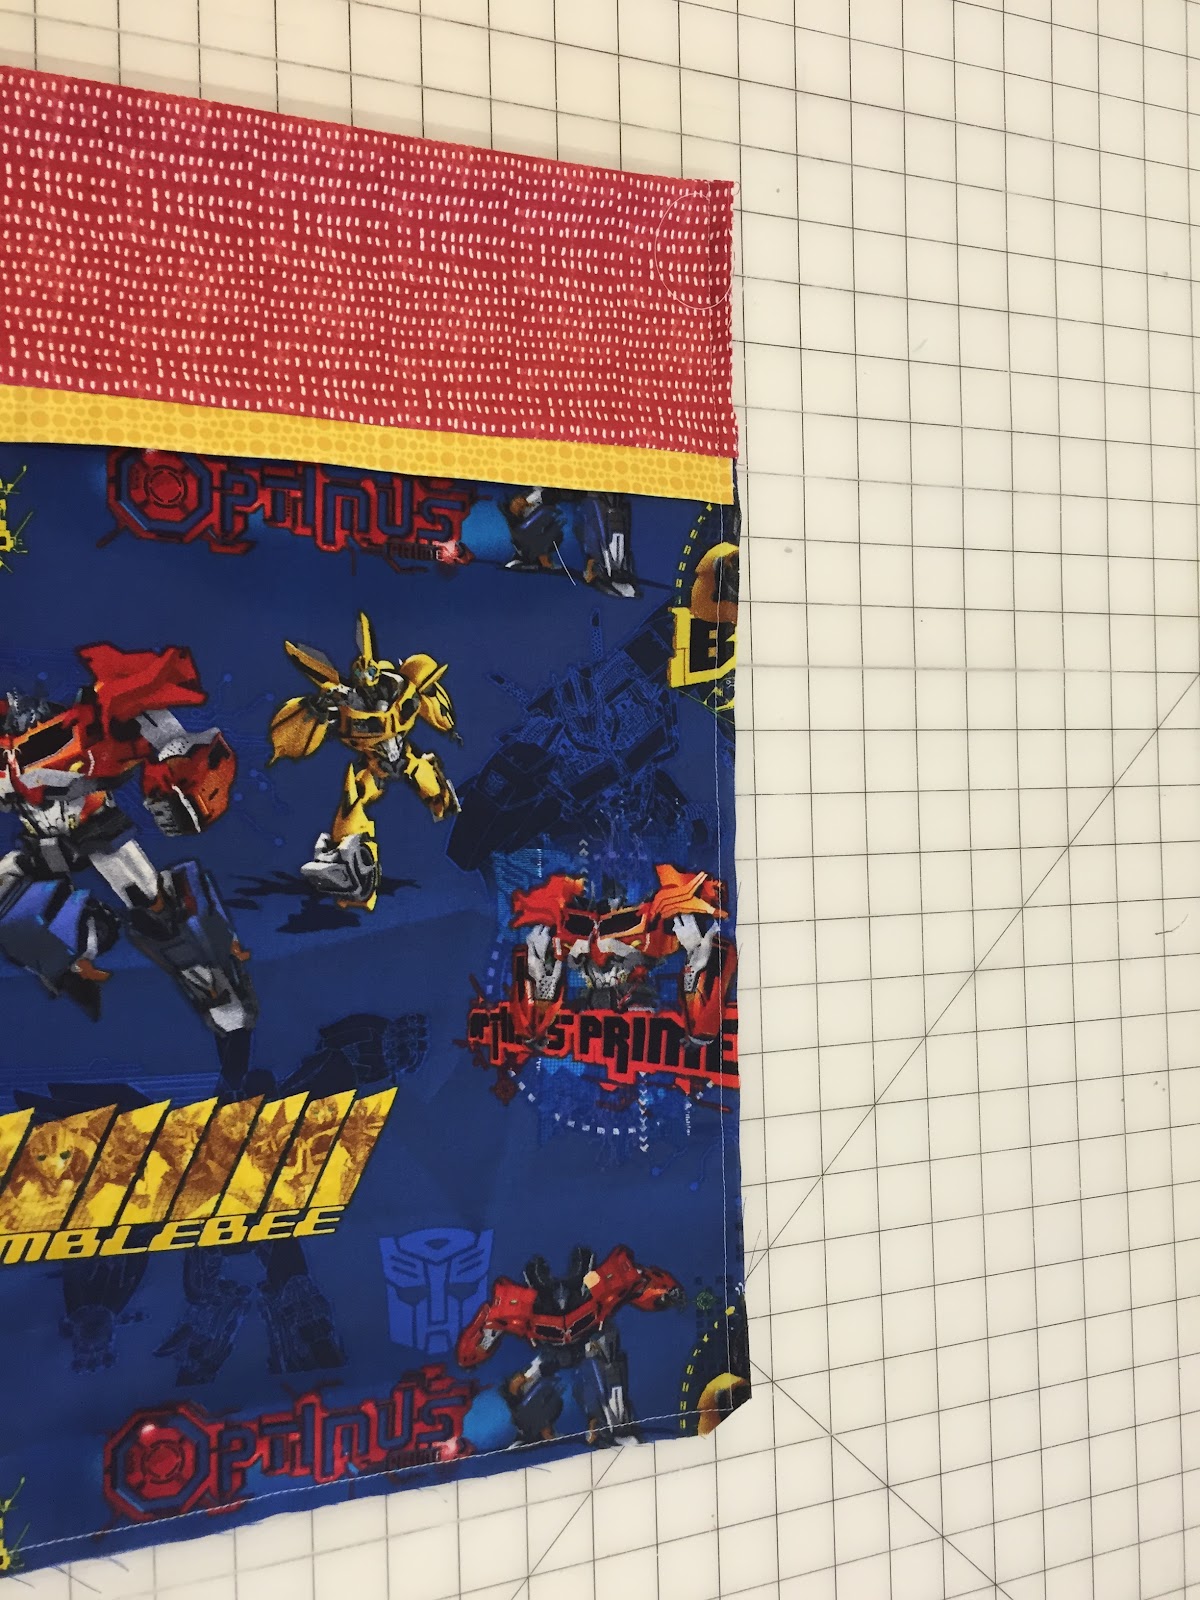
When you have turned the case completely right-side out, smooth it out and admire your work!
Press the seams flat, checking that the band fabric is pushed back from the accent fabric all the way, both on the front and back of the case. Now you’re ready to start constructing the side and bottom seams.
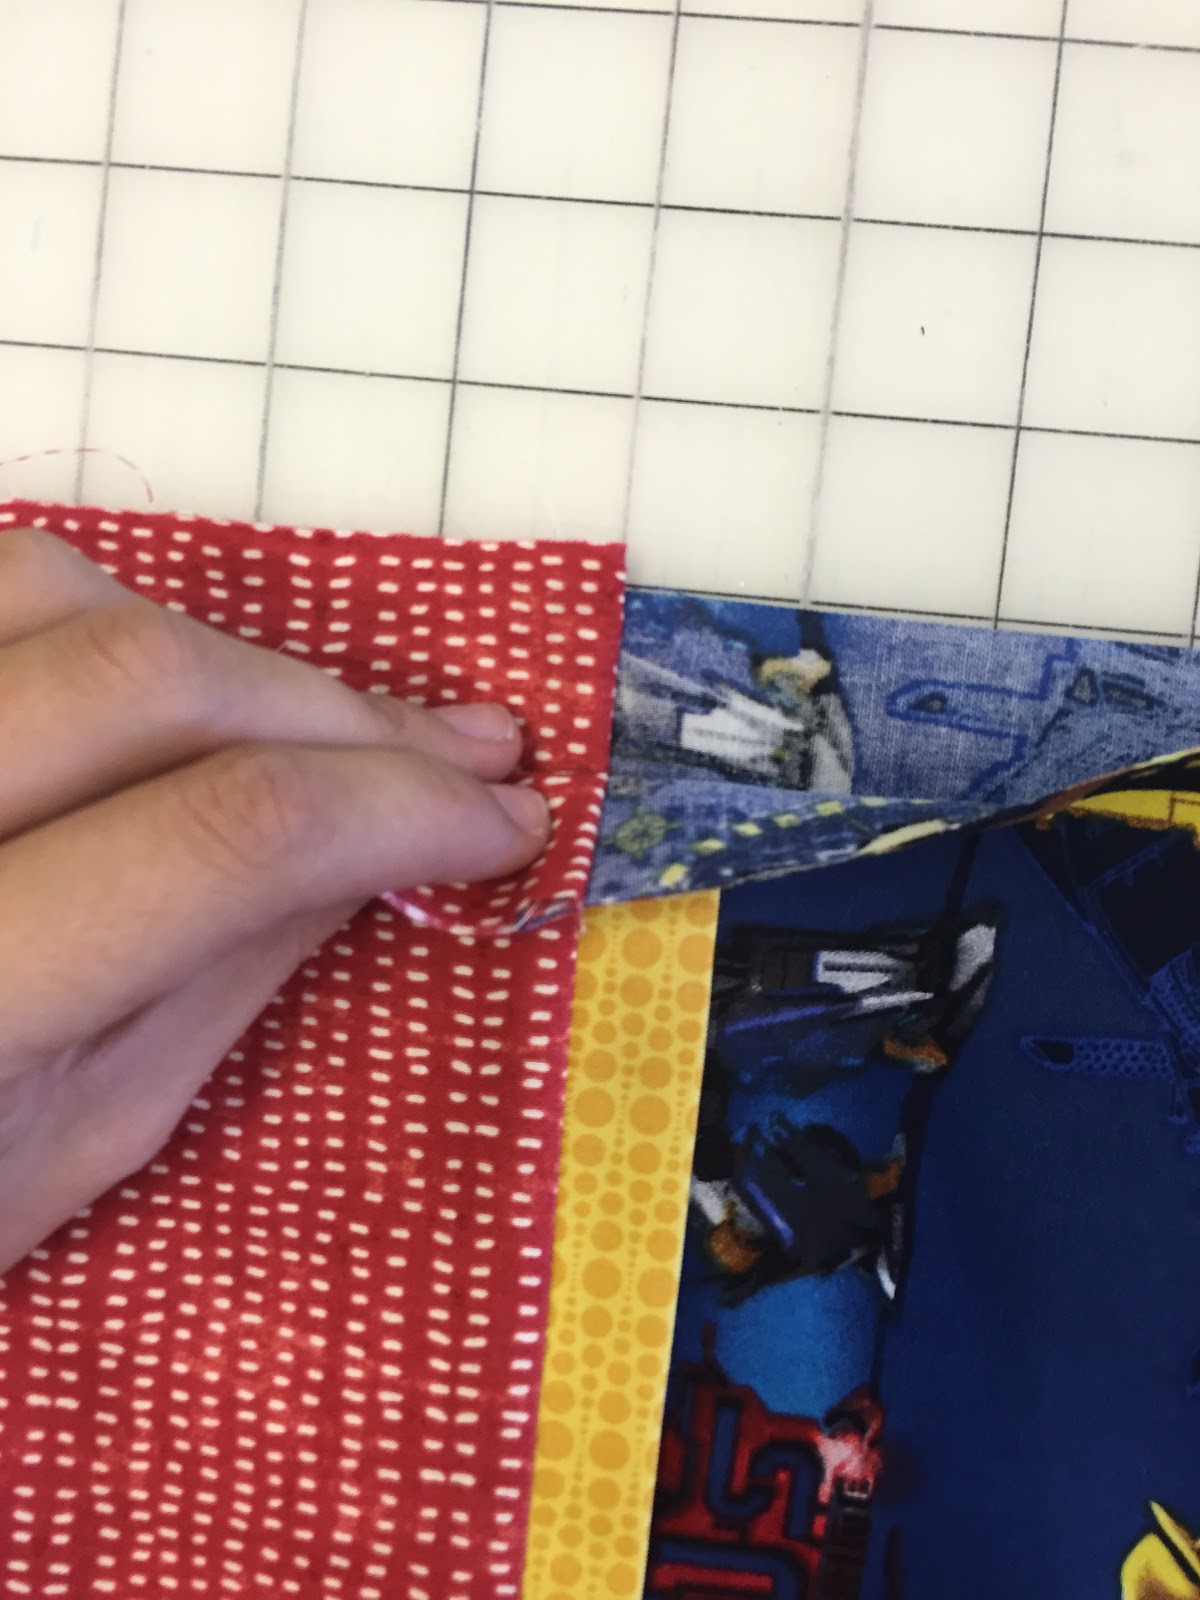
Fold the case in half, wrong sides together. Pin along the open side and bottom, paying special attention to lining up the seams between the band and accent strip. I find that this is easiest to do by looking between the fabrics to ensure everything is lined up (see second picture below).

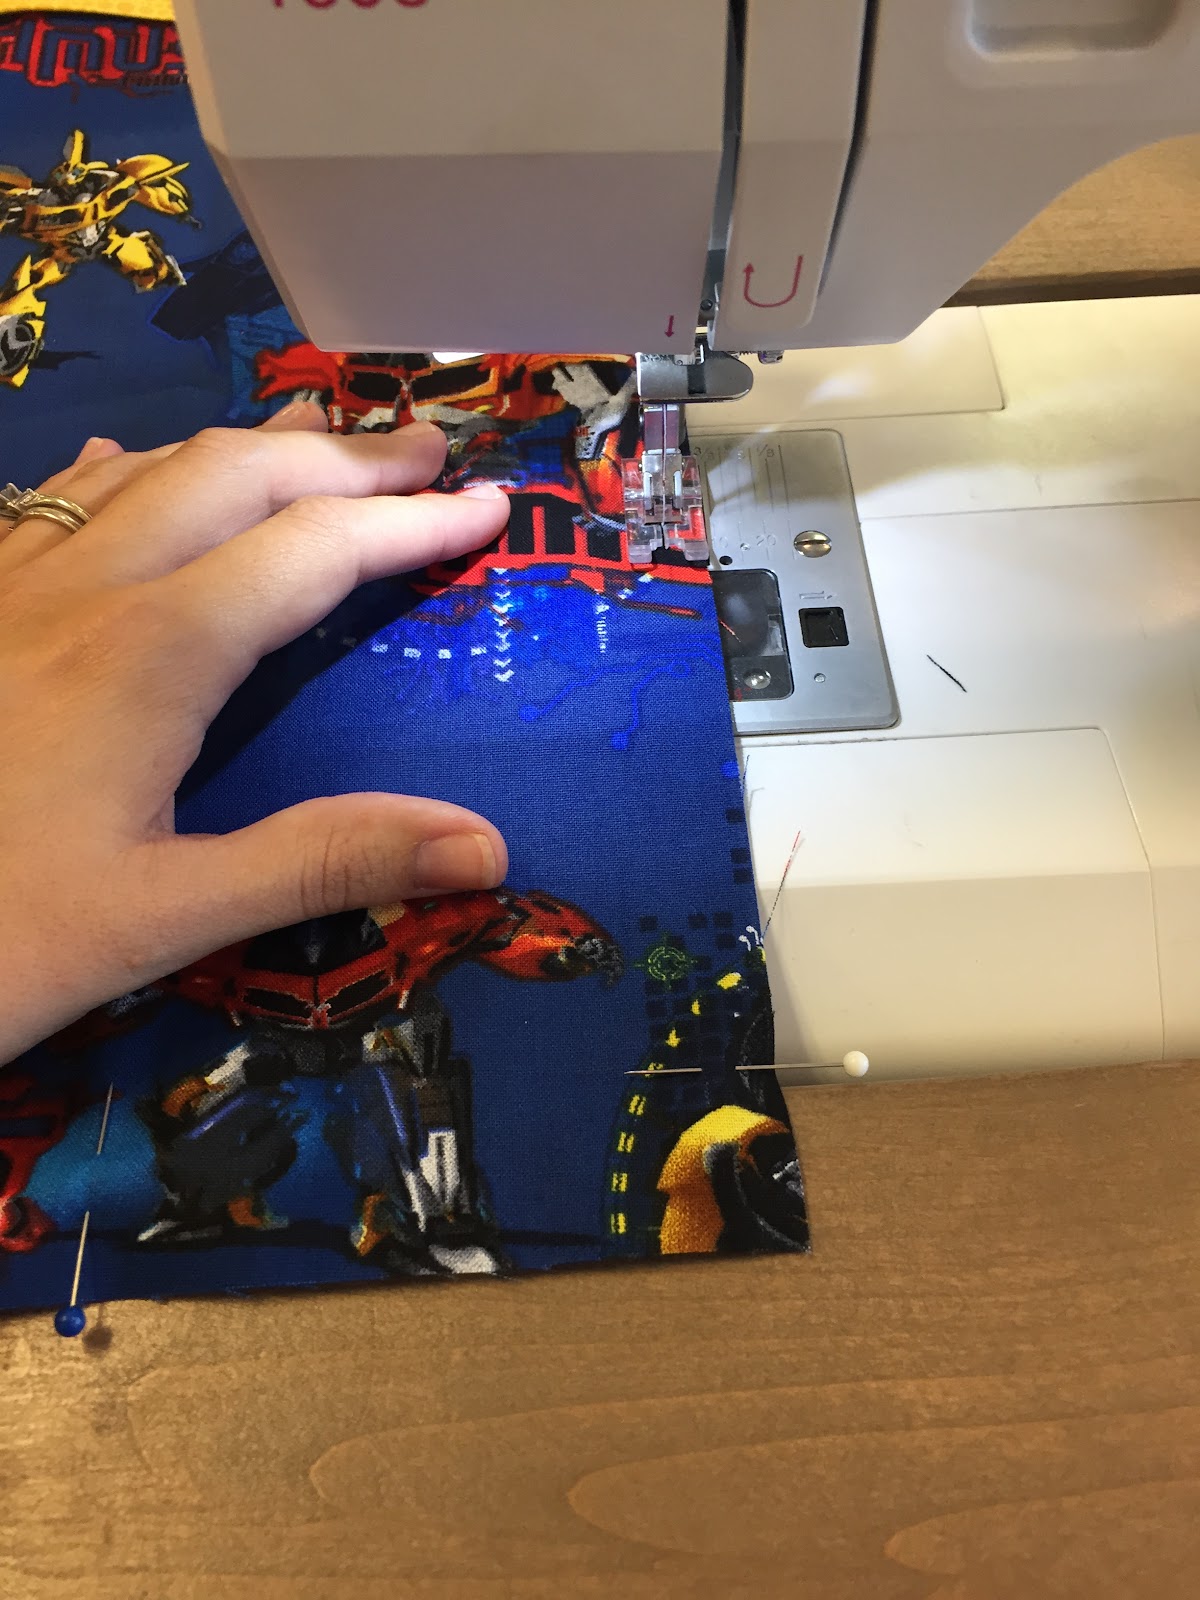
You can now sew along the two pinned sides, again using a ⅜” seam allowance.
Clip the bottom corners close to, but not through, the seam line.
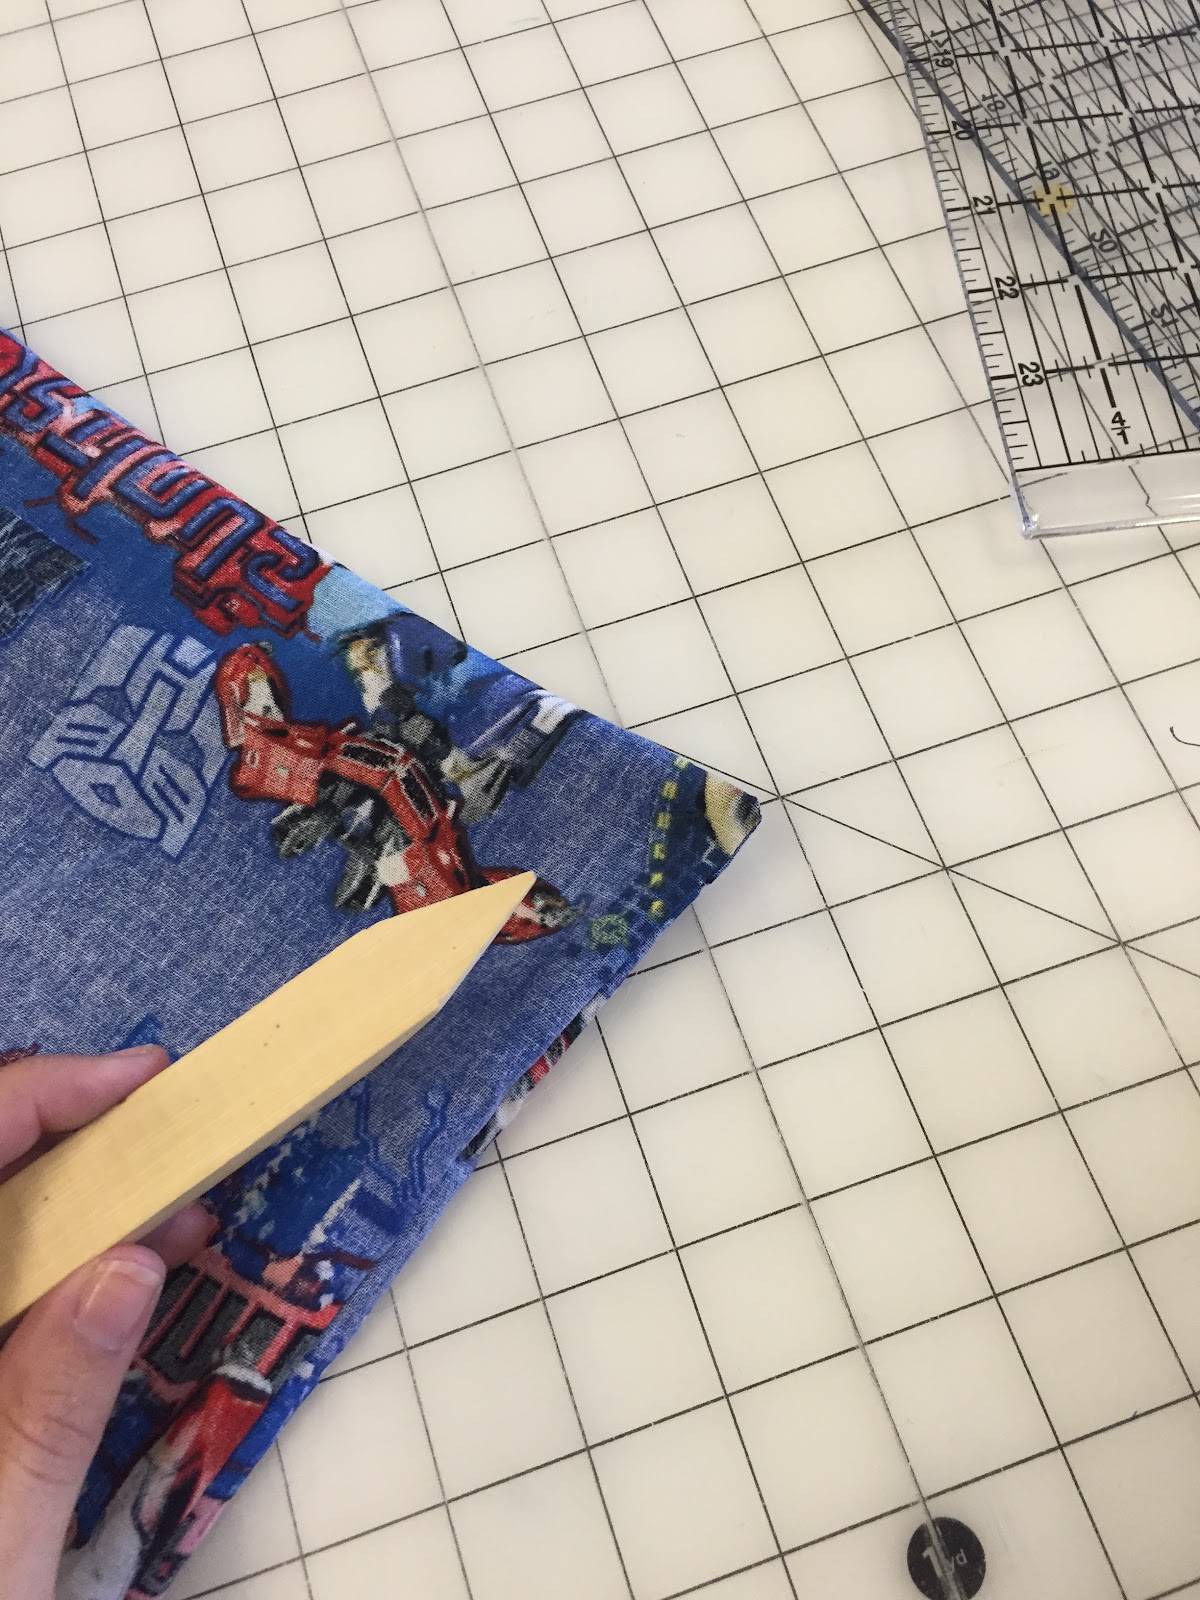
Turn the pillowcase wrong side out, and press the seams flat, again making sure that they are fully extended. You can use a handy point turner to make sure the corners and seams are pushed all the way out.
Now, return to the sewing machine and sew along the same two seams - down the side and across the bottom, this time using a ⅝” seam allowance.
You’ve created your french seam - this time don’t trim the corners. Turn the case right side out and again use your point turner to push the corners out as much as possible. The french seams are bulky in the corners so you won’t get a really crisp point, but you will have a very sturdy and clean looking seam. And you’re done!
A 12”x16” pillow form fits nicely.